Do you have business receipts that you don’t want to lose track of? Unsure where to keep your business receipts in case you are ever audited? Is your file cabinet getting overfilled with receipts from all that business travel? Managing business receipts can be a huge headache at times, but it doesn’t have to be. QuickBooks Online can keep your receipts in one, easy to use location:
How To Capture and Manage Receipts in QuickBooks Online
1.Download the QuickBooks Mobile App to your phone
2. Sign into your QuickBooks account on your phone
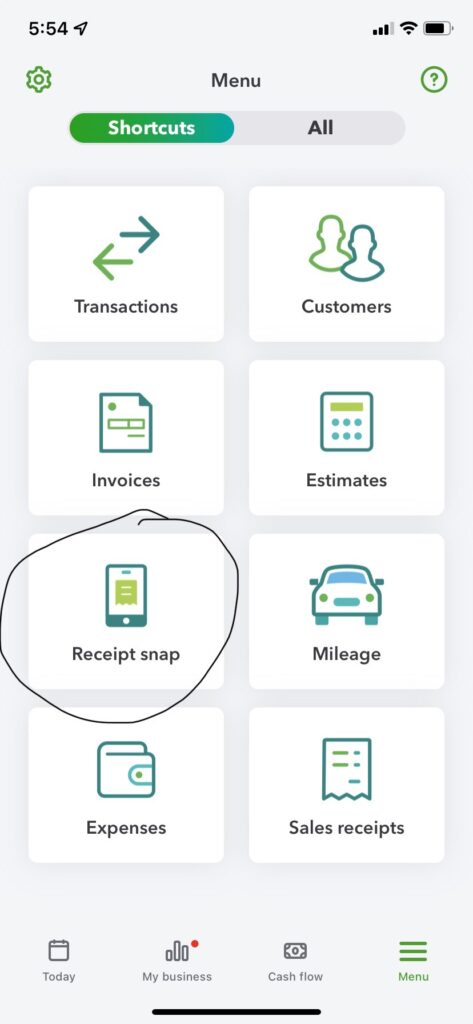
3. There will be three lines at the bottom right-hand corner of your screen, that is the menu button, click on them and this will bring up 8 boxes.
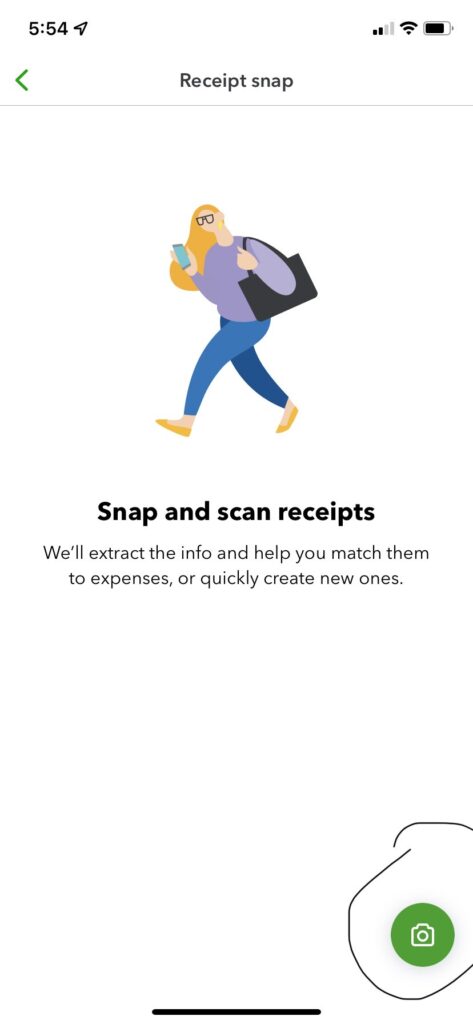
4. Click the box that states Receipt Snap
5. Lay your receipt flat and click the green camera button at the bottom right of the screen. When the receipt is lined up correctly it will show a green box. Click the middle white button to snap the photo. This will capture the information on the receipt.
6. Now click “Use this Photo”
7. Click the top green back arrow and click back into the receipt snap one more time. You should see the receipt that you just took a picture of in the For Review column. Click on the receipt and fill in any information that may be missing.
8. Once you have confirmed all information is included, click Save Receipt. You will now be asked to create an expense from this receipt, and you will click yes.
9. From here, log into QuickBooks Online and click the Banking/Receipts to see the uploaded receipt that you just took a photo of.
Another way to manage your receipts is to upload them from your computer and here is how to accomplish that:
1. Log into QuickBooks Online
2. Go to Banking
3. Receipts
4. Upload from Computer
5. Now attach the receipt of your choice
6. Your document will upload, and you will be able to fill in the necessary information just like above.